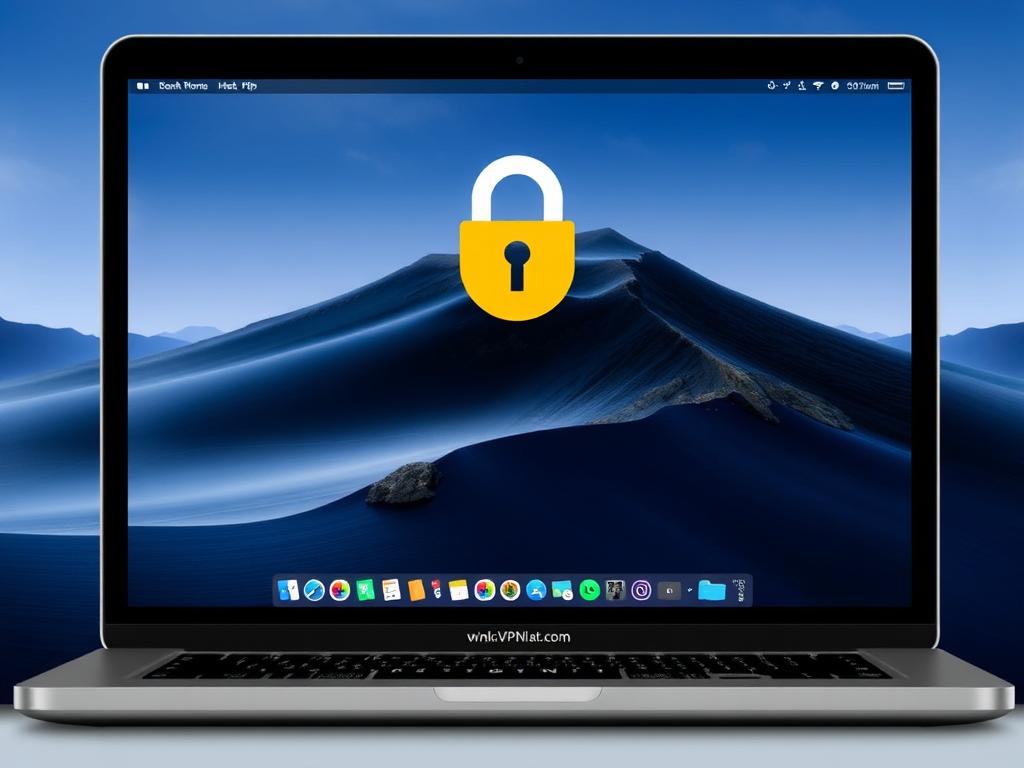
In today’s digital world, protecting your online privacy and accessing geo-restricted content have become more important than ever. Setting up a VPN on your Mac is one of the best ways to secure your internet connection and unlock a world of content. But how exactly do you configure it? This step-by-step guide will walk you through everything you need to know about how to set up a VPN on Mac, making the process simple, clear, and hassle-free.
What Is a VPN and Why You Need One on Your Mac
Before diving into the technical side of how to set up a VPN on Mac, let’s quickly cover what a VPN actually does. A Virtual Private Network (VPN) creates a secure and encrypted connection between your Mac and the internet, disguising your IP address and protecting your data from hackers, ISPs, and other prying eyes. This is especially important when using public Wi-Fi networks or handling sensitive information. Aside from security, a VPN also helps you bypass regional restrictions, giving you access to streaming services or websites that might be blocked in your location.
Many people ask, “How do I set up a VPN on Mac without any hassle?” The truth is, it’s much easier than you might think, whether you want to use a built-in option with macOS or prefer a third-party app. Let’s explore both routes.
Step 1: Choosing a Reliable VPN Service
Not all VPNs are created equal. When considering how to set up a VPN on Mac, the first and most important step is selecting a trustworthy, reliable VPN provider. Here are some key factors to keep in mind:
- Security: Look for strong encryption standards like AES-256 and protocols such as OpenVPN or IKEv2.
- Speed: A VPN can slow down your connection; choose providers with high-speed servers.
- Privacy Policy: Opt for VPNs that offer a strict no-logs policy to keep your activities private.
- Server Locations: The more locations and servers available, the better for bypassing geo-blocks.
- Compatibility: Make sure the VPN supports Mac OS versions and provides easy setup instructions.
Here’s a quick comparison table of some popular VPN providers that work well on Mac:
| VPN Provider | Security Protocols | Number of Servers | No-logs Policy | Price (Monthly) |
|---|---|---|---|---|
| ExpressVPN | OpenVPN, IKEv2, Lightway | 3000+ in 94 countries | Yes | $12.95 |
| NordVPN | OpenVPN, IKEv2, WireGuard | 5400+ in 60 countries | Yes | $11.99 |
| CyberGhost | OpenVPN, IKEv2 | 8500+ in 91 countries | Yes | $12.99 |
Step 2: Setting Up a VPN on Mac Using VPN Apps
Once you pick a VPN provider, the easiest way to set up a VPN on Mac is through their dedicated app. Most popular VPN services offer Mac apps designed specifically to streamline the setup process.
Installing and Configuring the VPN App
Follow these straightforward steps to install and connect your Mac to a VPN:
- Go to your VPN provider’s official website and download the Mac client.
- Open the downloaded file and follow the on-screen instructions to install the app.
- Launch the VPN app and log in with your account credentials.
- Choose the server location you want to connect to (for example, US or UK).
- Click the “Connect” button. You should see a confirmation once the connection is active.
Most apps will run in the background, so you don’t have to do anything else. You can now browse securely with your Mac connected to the VPN server.
Additional Features in VPN Apps
Many VPN applications offer extra features to enhance your experience. These might include:
- Automatic Kill Switch — disconnects your internet if the VPN drops to avoid data leaks.
- Split Tunneling — lets you select which apps use the VPN and which don’t.
- Ad blocking and malware protection integrated into the VPN.
- Custom DNS settings and support for specific protocols.
Step 3: How to Set Up a VPN on Mac Using Built-in macOS Settings
If you prefer not to download additional software, you can manually set up a VPN connection using macOS system preferences.
Gather VPN Information
Before configuring the VPN manually, make sure you have these details from your VPN provider:
- VPN type (L2TP, IKEv2, or PPTP – note that PPTP is less secure and often unsupported)
- Server address
- Account name and password
- Shared secret or certificate, if required
Manual VPN Setup Instructions

- Open System Preferences on your Mac.
- Go to Network.
- Click the + button at the bottom left to add a new connection.
- For Interface, choose VPN.
- Select the correct VPN Type (IKEv2, L2TP over IPSec, etc.) based on information provided by your VPN provider.
- Give the connection a name (e.g., “My VPN Connection”).
- Click Create.
- Enter the Server Address and Account Name.
- Click on Authentication Settings and enter the password and shared secret or certificate.
- Click Apply and then Connect.
Your Mac should now establish a secure VPN connection. You can verify this by seeing a VPN icon in the menu bar.
Troubleshooting Common VPN Issues on Mac
Even though setting up a VPN on Mac is usually straightforward, you might encounter a few bumps along the way. Here are some common issues and quick fixes:
- VPN won’t connect: Double-check server address, username, and password; try a different server location.
- Slow speeds: Switch servers closer to your location or try another VPN protocol in app settings.
- VPN disconnects frequently: Enable the Kill Switch or set the VPN app to reconnect automatically.
- Unable to access certain websites: Clear your browser cookies or try split tunneling to exclude some apps from the VPN.
When to Contact Support
If you’ve tried the fixes above with no success, don’t hesitate to reach out to your VPN provider’s customer support. Most providers offer 24/7 live chat or email support dedicated to helping with setup issues.
Extra Tips for the Best VPN Experience on Mac
To maximize your VPN experience, consider these tips:
- Always update your VPN app: Developers regularly improve compatibility and security with new updates.
- Use the fastest protocol available: WireGuard or IKEv2 tend to offer better speeds and stability.
- Enable VPN at startup: Many apps allow you to automatically start the VPN when your Mac boots up.
- Use VPN consistently: For constant protection, avoid turning it off unless necessary.
Conclusion
Setting up a VPN on Mac doesn’t have to be complicated. Whether you choose to use a VPN app for a one-click experience or set up a connection manually through macOS settings, the process is manageable with the right information. By following this step-by-step guide on how to set up a VPN on Mac, you’ll gain safer browsing, greater privacy, and access to content that might otherwise be restricted. Remember, choosing a trusted VPN provider and keeping your software updated are key to a smooth and secure VPN experience on your Mac. So go ahead, start protecting your online life today and explore the internet with confidence!